Lye Calculation: Experience in Soapmaking
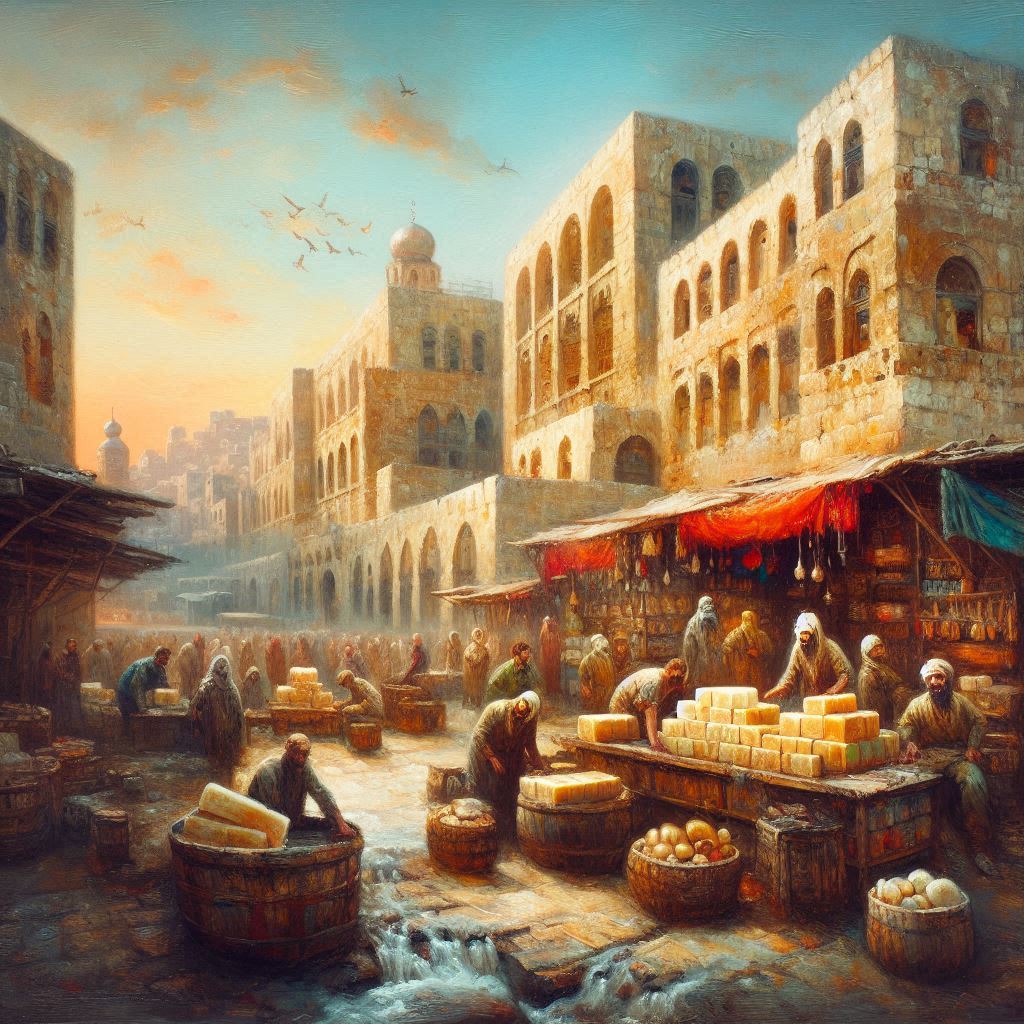
Lye Calculation: Experience in Soapmaking Practical Approaches to Lye Measurement Soapmaking was once a craft passed down from generation to generation. Many soapmakers relied on traditional recipes and their own experience to determine the correct amount of lye. They knew the general ratios between fats (e.g., animal fat, olive oil) and lye (e.g., potash or caustic soda). However, calculating the exact proportions of ingredients was very challenging. There were several reasons for this. The Importance of Experience: Tradition Over Science Before modern chemistry, soap makers primarily relied on experience and tradition. Over generations, techniques and “rules” were passed down, based on trial and error. These rules were not scientifically precise, but they were sufficient to create usable soap. In the earlier centuries, chemistry was not as advanced as it is today. The exact way in which fats and lye react (saponification) was known, but there was a lack of a clear, detailed scientific understanding of chemical reactions and specific ingredient ratios. Absence of Stoichiometry Theory The theoretical foundation for the precise calculation of chemical reactions—known as stoichiometry—had not yet been developed. There were no established principles that would have allowed the creation of exact formulas for soap making. Instead, rough estimates were made. Lack of Precise Weight Measurement Tools There were no modern instruments for precisely measuring chemical substances (such as titration devices or modern scales). Simple scales were used, which only allowed rough measurements, and volumetric measurements (e.g., using bottles or cups) were also not always accurate. No Precise Temperature Measurements Temperature played a role in saponification (e.g., in maintaining the right reaction temperature), but precise thermometers were either unavailable or expensive and inaccurate. The lack of precise temperature control meant that the saponification process depended on experience and estimates rather than exact calculations. Inadequate Methods for Analyzing Raw Materials The exact composition of fats and lye could not be reliably measured. Chemical analysis of raw materials (fats, lye, water) was inaccurate, making it difficult to calculate the exact amount of lye required to completely saponify a specific amount of fat. No Reliable Measurement of Lye Excess In traditional soapmaking, it was difficult to measure the excess lye. An excess of lye could lead to a harsh, unpleasantly alkaline soap that could harm the skin, but this could not be easily quantified without specialized methods like pH measurement or titration. Lack of Control Methods Soapmaking relied heavily on the “feel” of the soapmaker. Many processes, such as determining whether enough lye had been added to completely saponify the fat, depended on visual and tactile cues that were not exactly measurable. The soapmakers not only had problems with the accuracy of the tools used, but also with the purity of the materials available. Fluctuating Fat Compositions Different fats (such as olive oil, beef tallow, or lard) have varying chemical compositions. This meant that the fat content and the types of fatty acids in each batch could differ. Without precise methods for determining the exact proportion of unsaturated or saturated fatty acids, it was impossible to make exact calculations. Different Lye Qualities Lye was often made from plant ash (e.g., oak wood or seaweed). The concentration of alkalis (potassium or sodium carbonate) in the ash could vary greatly. To test the quality of the lye, soapmakers would float it in water: the more lye was required, the heavier the solution was, and it would sink slowly. Variations in Soapmaking Soapmaking could vary greatly depending on the type of soap being produced. For example, adding different oils, herbs, or other ingredients would yield different results. The desired consistency and hardness of the soap also played a role and could be adjusted by varying the amounts of lye and fat. The Young Ladies’ Journal, 1896 Although they had to work with imprecise testing methods, varying quality of materials and sometimes only orally handed down secret recipes, these soap makers produced great soaps. Normal soaps for the commoner, cleaning soaps, cheap soaps for the poor and toilet soaps for the elite of society. The methods of the soap makers Use of Lye and Fat Tables As early as the 18th century, attempts were made to create tables for soap production. These tables indicated how much lye was needed for a specific amount of fat. However, these tables were often based on empirical data, as chemical analysis was not very accurate at the time. Potash (potassium carbonate), which was commonly used, could have varying concentrations. Simple Alkalimetry Tests Although modern alkalimetry was developed only in the 19th century, soapmakers knew simple tests to check the strength of lye. For example, they would drop the lye onto their skin to estimate its strength (a risky and inaccurate method). Or they used organic pH indicators like litmus or red cabbage juice to roughly determine the pH. Such tests helped assess the quality of the lye, especially since potash, made from burning plant ashes, was often uneven in strength. Empirical Control During the Process Soapmakers observed the chemical reaction during the process (called saponification). They checked the consistency and behavior of the mixture. For example, if a layer of fat formed, it indicated that the lye was insufficient. Before the advancement of modern chemistry, soapmaking was deeply rooted in experience and tradition. Techniques were passed down over generations, relying on trial and error rather than scientific precision. In earlier centuries, the lack of stoichiometric theory and precise measurement tools meant that soapmakers worked with rough estimates and empirical methods. Raw materials, such as fats and lye, varied significantly in composition and quality, making exact calculations nearly impossible. Instead, soapmakers relied on practical knowledge and observational skills to control the saponification process. Tools for measuring temperature, lye strength, and ingredient ratios were either unavailable or highly imprecise, leading to inconsistent outcomes. Despite these challenges, the intuitive methods and adjustments made by skilled soapmakers highlight the critical role of experience. Their ability to adapt to variations and rely on tactile, visual, and empirical tests ensured the production
The Art of Waiting: Patience in the Soap Curing Process
The Art of Waiting: The Chemistry and Transformation of Soap Curing Handcrafted soap is more than just a cleaning agent—it’s a product of artistry, chemistry, and above all patience. While the initial creation of soap through saponification is a rapid chemical reaction, it is the curing process that truly transforms a freshly made soap into a high-quality, skin-friendly product. This process, which typically lasts 4-6 weeks or longer, allows the soap to develop its optimal properties, including gentleness, longevity, and a delightful user experience. Why Does Soap Need Time to Cure? Soap making is not just about mixing oils and lye—it’s a chemical reaction called saponification. In this reaction, fats (usually plant-based or animal-derived) interact with lye (sodium hydroxide, NaOH) to create soap molecules and glycerin. While saponification itself is the first step, the soap requires additional time to fully develop its skin-friendly properties. Kevin Dunn, a recognized expert in soap chemistry, explains that freshly made soap is often still quite alkaline, which can irritate the skin. During curing, the soap’s pH gradually decreases as any residual lye is neutralized, making it milder and gentler. Difference between saponification and curing Saponification: The chemical reaction between lye (NaOH) and fats or oils produces soap molecules and glycerin. Curing: This is the process where soap develops its consistency, texture, and skin-friendliness by losing excess water and neutralizing residual lye. Why Does Soap Need Time to Cure? The Chemistry Behind the ProcessSoap making is not just about mixing oils and lye—it’s a chemical reaction called saponification. In this reaction, fats (usually plant-based or animal-derived) interact with lye (sodium hydroxide, NaOH) to create soap molecules and glycerin. While saponification itself is the first step, the soap requires additional time to fully develop its skin-friendly properties. Kevin Dunn, a recognized expert in soap chemistry, explains that freshly made soap is often still quite alkaline, which can irritate the skin. During curing, the soap’s pH gradually decreases as any residual lye is neutralized, making it milder and gentler. What Happens During Curing? Saponification and Lye Neutralization: The primary reaction of fats or oils with sodium hydroxide (NaOH) produces soap molecules (fatty acid salts) and glycerin. While this reaction completes within hours, residual NaOH remains in the fresh soap. During curing, this residual lye reacts with carbon dioxide (CO₂) from the air to form sodium carbonate, reducing the soap’s pH and making it gentler on the skin. Water Evaporation: Fresh soap contains a significant amount of water used during the manufacturing process. Over the curing period, this water evaporates, resulting in a harder, longer-lasting bar. Reduced water content also minimizes microbial growth, improving the soap’s shelf life. Crystallization of Fatty Acid Salts: As the soap cures, its molecular structure stabilizes. Fatty acid salts crystallize, which contributes to the soap’s firmness and consistency. Soaps rich in stearic acid (from oils like shea butter or palm oil) tend to develop a particularly durable structure. pH Stabilization: Fresh soap typically has a pH between 10 and 11, which can feel harsh on the skin. Curing reduces this pH slightly, creating a product that is more balanced and gentle. Fragrance and Additive Integration: Over time, essential oils and fragrance oils distribute evenly throughout the soap. Earthy or woody scents deepen, while lighter citrus notes may fade slightly. Additives like clays, activated charcoal, or botanical powders bond with the soap matrix, enhancing cleansing properties and appearance. Physical and Aesthetic Changes Appearance: Initially, soap may appear cloudy or uneven. As it cures, the bar becomes more uniform, often with a matte or silky finish. Some natural soaps may develop a thin layer of “soda ash” (sodium carbonate) on the surface, which is purely cosmetic and harmless. Texture and Hardness: Fresh soap feels soft and sticky to the touch. As water evaporates and the soap matrix stabilizes, the bar becomes firmer, smoother, and more pleasant to handle. A well-cured soap resists crumbling and provides a satisfying tactile experience. Lather Quality: Soap’s lathering properties improve with curing. Coconut oil, for example, contributes to a bubbly, cleansing lather, while olive oil creates a creamy foam. Curing allows the soap to develop an optimal balance of these qualities. Longevity: Softer, freshly made soap dissolves quickly during use. Harder, cured soap not only lasts longer but also maintains its integrity, even with frequent use. In addition to the physical transformations, the curing process also involves important chemical and environmental considerations: Ashley Green, an expert in soap making, emphasizes that patience is essential for the perfect result. Soaps often need 4 to 6 weeks to cure, depending on the fats used and the production method. During this time, water evaporates from the soap, making it firmer and more durable. A well-cured soap not only has a longer shelf life but also feels softer and more pleasant on the skin. Chemical and Environmental Details Oxidation and Shelf Life: Unsaturated fats (e.g., from olive or sunflower oil) are prone to oxidation, which can affect the soap’s appearance or scent over time. Proper storage in a cool, dry place minimizes this effect. Glycerin and Hygroscopicity: Glycerin, a byproduct of saponification, is highly moisturizing but also hygroscopic—it attracts water from the air. This can make soap bars feel slightly sticky in humid environments, but it enhances their ability to hydrate the skin. Special Recipes: Castile Soaps (100% Olive Oil): Require longer curing times (6 months or more) to achieve optimal hardness and lather. High Coconut Oil Soaps: Cure faster and produce abundant lather but may require added superfatting to avoid dryness. Milk or Sugar Additions: Enhance lather but may require careful handling during curing due to their moisture-attracting properties. Sustainability: The curing process of handmade soap is environmentally friendly, requiring no energy-intensive machinery. Its low-impact, slow-aging process contrasts with the high-speed methods of industrial soap production, emphasizing sustainability and craftsmanship. To get the most out of the curing process, here are some practical tips based on the insights of Kevin Dunn and Ashley Green: Air Circulation: Store soap in a well-ventilated
Salting out soaps
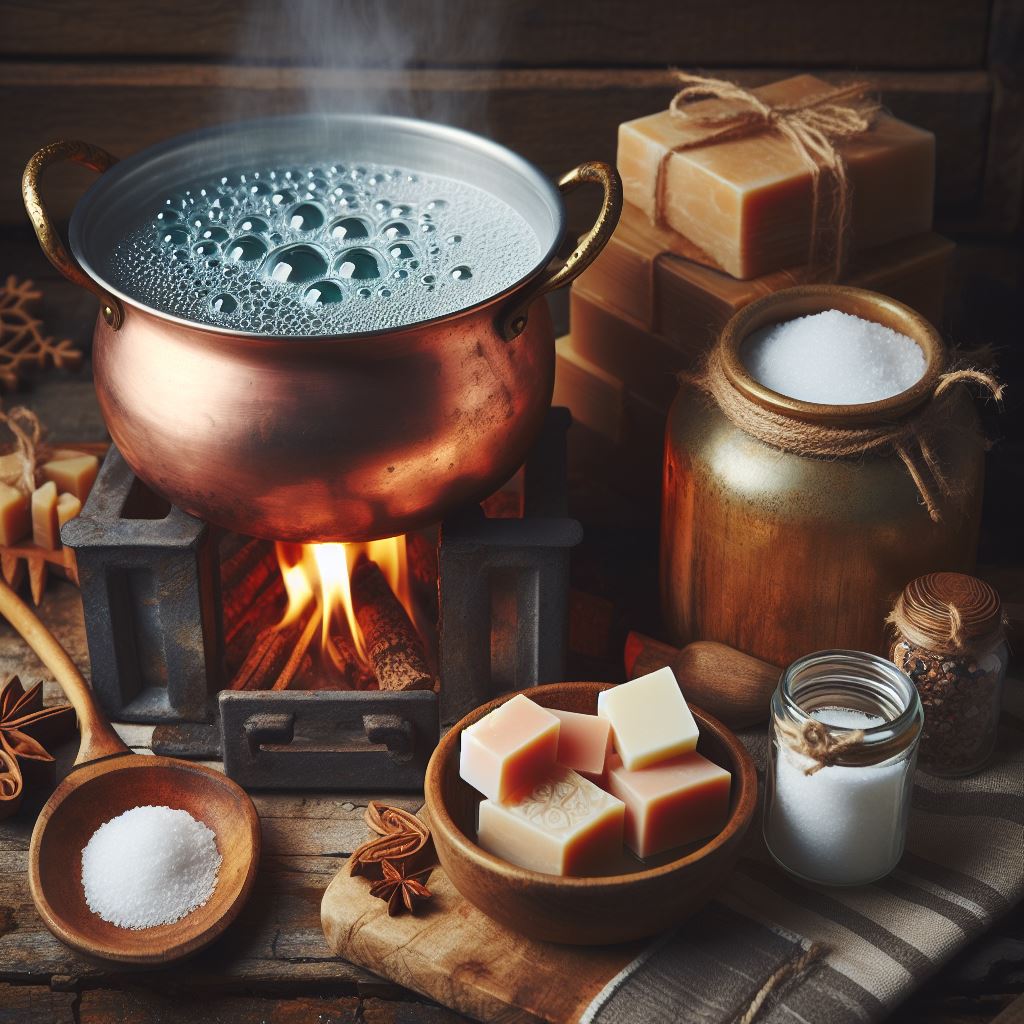
Soap Scraps – Salt them out! If soap scraps need to be turned into useful soap bars, it is usually necessary to rebatch the soap. Alternatively, you can salt out the soap if it is a failed batch, or rebatching is the usual way to get it going again. Why do we salt out soaps? A few hundred years ago, soaps were not made with pure ingredients. They had many impurities, which were washed out by adding salt or another electrolyte. The soaps were also made by potash (K2CO3). Potash soaps are very soft, like KOH soaps. But we can exchange the electrolytes and make KOH and K2CO3 soaps harder by changing KOH soaps to NaOH soaps. But salting out soaps cannot change all KOH to NaOH; there will always be KOH left (1/3 to 1/2 of the soap). This is the reason why these soaps give more lather. Salting out the soap is more time-consuming than rebatching, however, unlike rebatching, it is capable of removing many additives, including color and fragrance, from the soap. Salting out will remove the majority of the natural glycerin found in handcrafted soap, depending on the type of additives and the depth of color. The amount removed depends on the type and depth of color. Rather than mixing and simmering the soap in plain water, it can be more efficient to use a weak lye solution. Of course, NaOH can be added to the salt solution to save time. After the soap scraps have been salted out, what you can expect is that the essentials of the soap (the salt of fatty acids) will remain intact. Best practice to salt out soaps Grate the soap as finely as possible. If necessary, use a salad shooter, food processor, or hand grater to grate the soap into fine shreds, in case the soap is too thick. When weighing ingredients for a recipe, it isn’t necessary to be very precise because perfection is unnecessary. You just need to be close enough to get accurate results. Use about twice as much water as the weight of the soap. You may need more water, depending on the soap you have. I recommend using distilled water, deionized water, reverse osmosis water, or even rainwater if possible. Using tap or spring water that has hard water minerals in it can adversely affect the quality of the finished soap. Temperatures above 70°C (158°F). Use a wide but low pot. The narrower and higher the pot, the longer the process. Never add water without electrolytes. Use a very fluid soap/water mix. When you throw a bit with a spatula in the air, the resulting soap bubbles should be small, clear, and stay intact until they hit a surface. Use between 3 parts water to 5.5 parts water for 10 parts soap. Use 0.3% – 0.5% excess of alkali (use a lye calc and calculate the lye for minus 0.3% superfat). Use a ~10% electrolyte solution, starting with 1% (1 part electrolyte to 99 parts distilled water). Add more electrolytes in small steps until the soap starts to separate. The lower the molecular weight of the soap, the harder it is to salt out. Soaps made from highly unsaturated fatty acids are more difficult to salt out. Laureate, for example, requires a saturated salt solution. When soap is salted out, it goes through several steps: It foams a lot after adding salt and moderate temperature and can easily rise above the rim of the pot. When the soap is cooked longer, it is still liquid but becomes thicker and more viscous. You can see the slurry slide over the wet spatula in flat lumps or flakes. As the salt solution draws water from the soap during prolonged boiling, it becomes thicker and thicker. The salt water collects at the bottom of the pot. The soap throws larger and larger foam bubbles as it boils, and the steam can only escape through very small holes. This produces noises that sound like talking, blowing, or whistling. The surface of the soap is torn into plates. They are pushed over each other by the steam and look dry. When the soap and salt are in equilibrium in terms of their attraction, the soap sinks down, and the foam disintegrates into delineated grains. The soap now has the lowest water content it can have. Now it has become curd soap. It no longer rises even under the greatest heat. The salt solution no longer extracts water from the soap. At this point, it is uniform, and the steam escapes intermittently with violent bubbling. The boiling is finished. Now remove the soap from the pot. The softness corresponds to the respective water content. When you rub a sample between your fingers, it must feel dry, smooth, and not crumbly. If the sample is not soft, you have made a mistake in salting it out and used too much salt. You can start over and dissolve the soap in water and let it boil until the consistency is right. The soap will now take three to ten days to set. You can use a saturated brine solution or add it spoon after spoon. Cook the solution or keep it at low temperature. There are lots of very complicated ways to calculate the heat, the amount of water, soap, and water. But as I don’t want to spend my time calculating, I would rather try it myself. If you used too much salt, you can wash the soap. Grate it, add water, let the soap separate from the salt liquid, … You know the rest. 🙂 Important: Be sure to use proper safety gear and follow safe working procedures when dealing with lye. Even a weak solution of lye can cause dangerous burns, and if splashed on the skin, it can have long-term effects. Conclusion The method of salting out soap scraps provides an effective way to reuse unused soap remnants and transform them into useful soap bars. While it
Ancient soap recipes
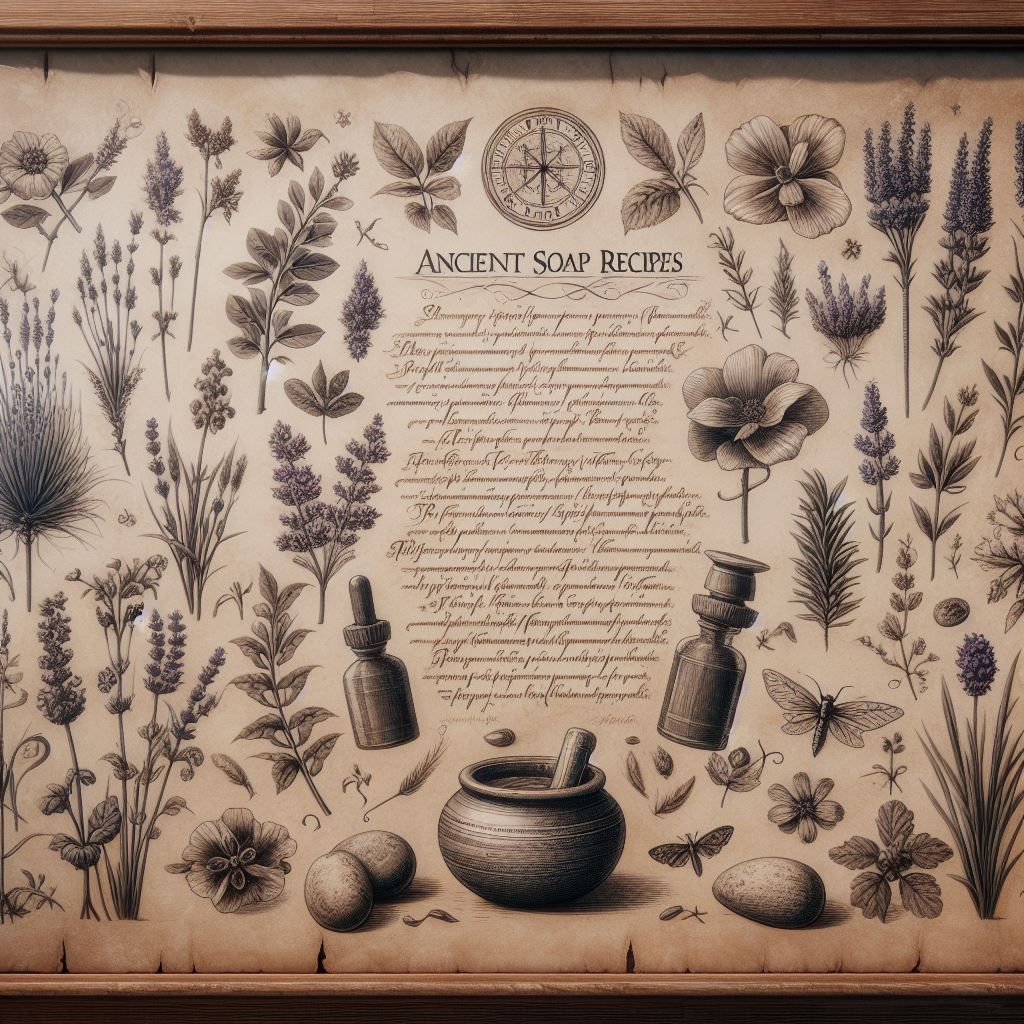
Unlocking the Secrets: Discover Vintage Soap Recipes Stay tuned as I unveil a treasure trove of soap recipes sourced from ancient books. Join me on this journey of rediscovery as we delve into the art of soap-making from generations past. Get ready to craft your own timeless creations! Honey Halfpalmsoap, Recipe from 1860 250 parts Lard 150 parts Palm oil 50 parts Coconut Oil 50 parts Colophony Die Darstellung der vorzüglichsten feinen Toilette – Seifen Substitute for Olive oil soap, Recipe I from 1867 30 parts olive oil 30 parts poppy seed oil or peanut oil 40 parts bovine fat Handbuch der chemischen Technologie, Band 6, Page 28 Substitute for Olive oil soap, Recipe II from 1867 30 parts olive oil 40 parts poppy seed oil or peanut oil 30 parts lard Handbuch der chemischen Technologie, Band 6, Page 28 Substitute for Olive oil soap, Recipe III from 1867 50 parts palm oil 30 parts sesame oil 20 parts bovine fat Handbuch der chemischen Technologie, Band 6, Page 28
Hot Process soaping – generations ago!
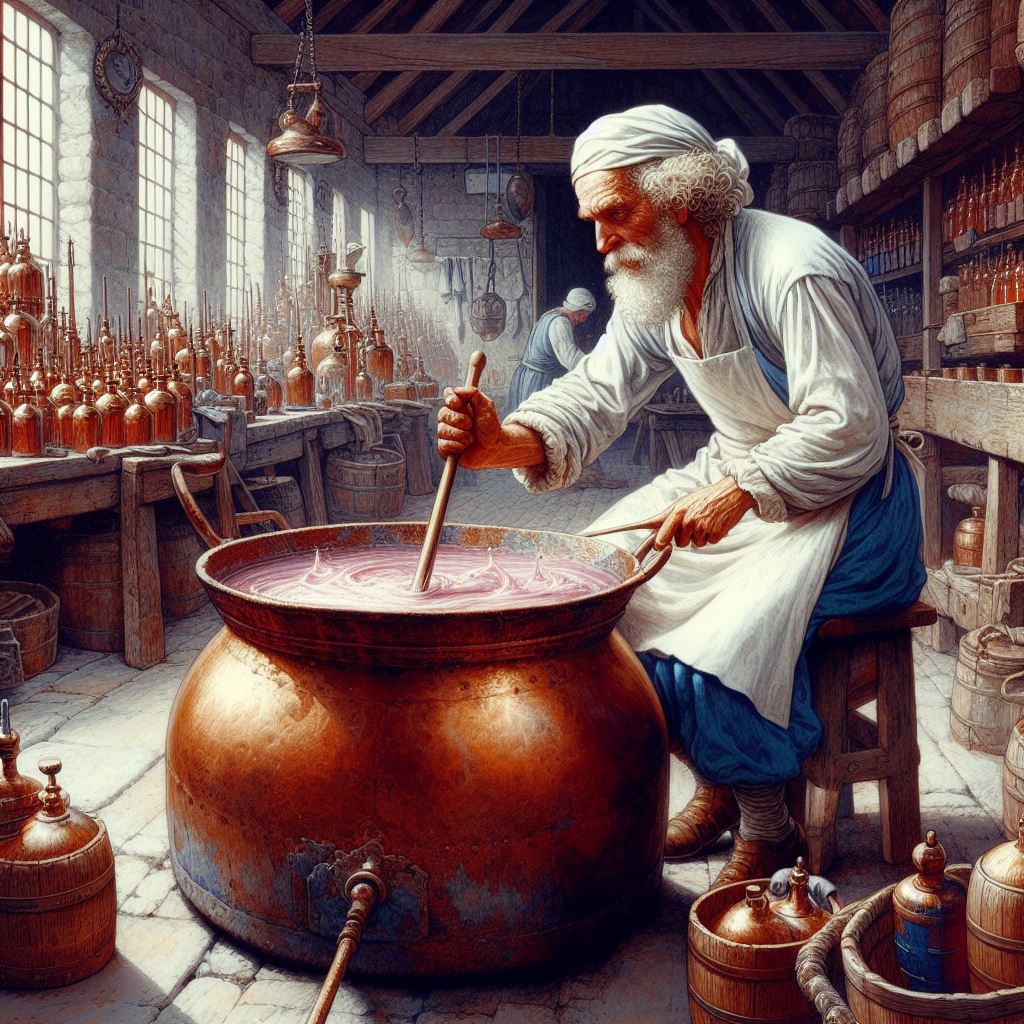
Hot Process soaping – generations ago! Explore the intricacies of soap production, from cooking to hardening. Learn precise methods for creating scum-free, pure soap bars of exceptional quality. This method is derived from a 300-year-old book for master soap makers. Step 1 – Cooking: Mastering the Initial Phase of Soap Production Cook all oils in 400 liter lye with 8-10° Baumé on low temperature, stir occasionally. As soon as it starts to simmer decrease the heat. Cook for a few hours. Add fresh 150 – 200 liter lye with 15-18° Baumé and stir for 15 minutes Cook for a few hours (days!) till the soap has an homogeneous apperance. Add 150 liter fresh lye with 15-18° Baumé. After cooking for another 2 hours the “Vorsieden” pre-cooking is done. Step 2 – Making Curd Soap: Refining the Soap Separation Process Remove the pot from the heat. Add a salt solution with 20 – 25° Baumé and stirr. When enough salt solution is added the soap seperates from the salt water. After 5 or 6 hours remove the 2/3 of the salt water. It should have 15 – 16° Baumé. Step 3 – Clear Boiling (“Klarsieden”): Achieving Clarity and Purity Add 600 – 700 liter lye with 25° Baumé. Turn on the heat. The soap expands and is very foamy. Stir it. Permanent stirring is important in this phase to decrease the cooking time. After 3 or 4 hours of slowly cooking increase the heat. This step should be ready after 8-10 hours resting. You will see little corns in lye. If you squezze the corns between the fingers thin and hard sheds should be formed. Let it rest for another few hours. Remove the soap from the now very concentrated lye. Step 4 – First Melting: Purifying the Soap through Melting Process The melting process takes place to remove excess lye, salt and impurities. Add 400 liters fresh lye with 8-10° Baumé. Increase the temperature and stir constantly. Stop stirring when all soap is melted. Cook 5 – 8 hours. To prevent clumping up add now and then pure water or lye with 2° Baumé. The soap must be separate from the lye during the whole time. Proof this with a glass [sic!] of the liquid. The soap swims on top of the lye. Let the soap rest for at least 8 hours. Step 5 – Second Melting: Final Refinement for Pure, High-Quality Soap Pour 150 liter of a soda/water solution (4,5-5° Baumé) in another pot, heat it till it almost cooks. Put the soap in this pot. Keep it warm for 4-5 hour and stirr occasionally. You know if the soap is ready when the impurities are visible again. Let the soap rest for 20 – 24 hours. The impurities are now in the weaker lye beneath the layer with soap. Remove the foam and save it for later. When you reached the pure soap remove it carefully and put it in a container. You will recognize the pure soap on the yellow-golden colour and the liquidity. Don’t forget to pour the soap through a fine plastic sieve. The now washed soap should have now a bright yellow colour, “does not have too much lye (is not “zapping”). Step 6 – Hardening: Achieving Uniformity and Stability in Soap Texture Now you have a container with soap. Stir it while it cools down to get plain and uniform soap. If all steps were done the soaps should yield: Soap Scum: 70-80 kg Pure soap: 1050-1080 kg Dirty and lyeheavy soap: 250-300 kg To get an excellent and beautiful toilet soap, bleach the palmoil. .